
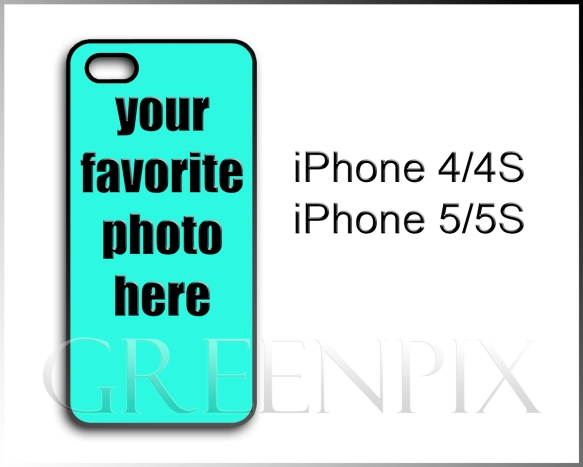
A few weeks ago, I wrote about the wide variety of mobile phone cases that I make and sell in my Etsy shop, and how to best choose a case to match your needs. On a similar note, I thought it would be interesting to share the process of making one of these cases, and more specifically, what is involved with personalizing the case using a photo provided by a customer. It all begins with a listing, which includes a thorough description of the case, ordering instructions and a photo which looks something like this:
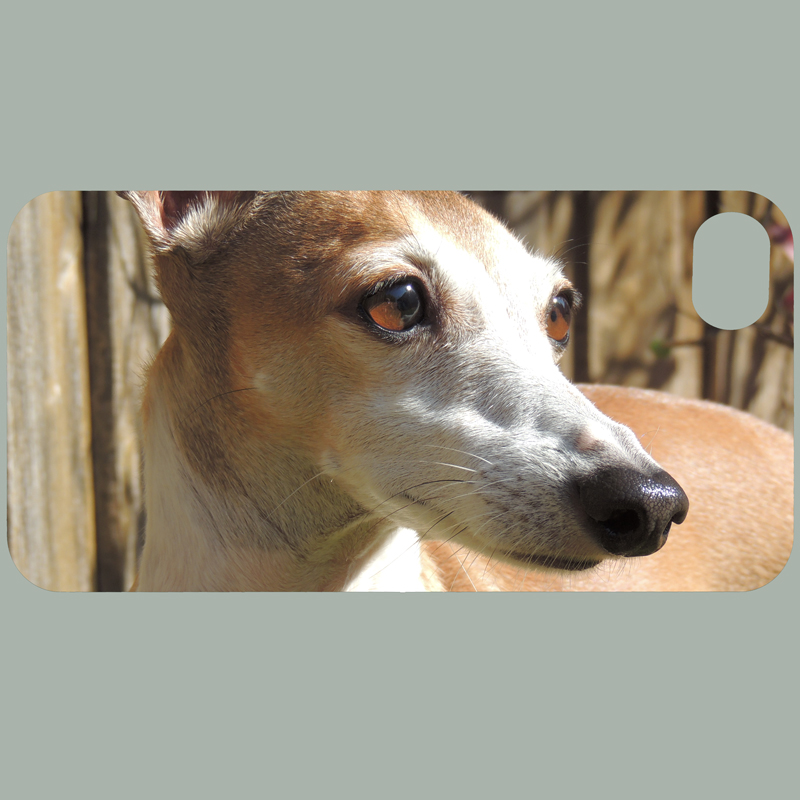
As an example, I’ll use a recent sale to a customer who wanted a photo of her dog, Chloe, on an iPhone 4/4S case. The first step of course, was getting Chloe’s photo. I provided the customer with a link so that she could upload her photo to my file hosting service. This approach avoids the possibility of file corruption or compression that may occur when sending as an email attachment. Here’s what the uploaded photo looked like:

That’s a great shot of a beautiful dog, but there was one problem – the aspect ratio. You can see easily enough that the aspect ratio is 1:1 (it’s square). However, as you could probably guess, the aspect ratio of the iPhone 4/4S case is more like 2:1 (about twice as high as it is wide). Depending on the specific details of the photo, there are some creative ways to fit the entire image on the case. But in this situation, we were left with cropping as the most practical solution. To make sure my customer got what she wanted, I created the following digital proofs showing two cropping options:

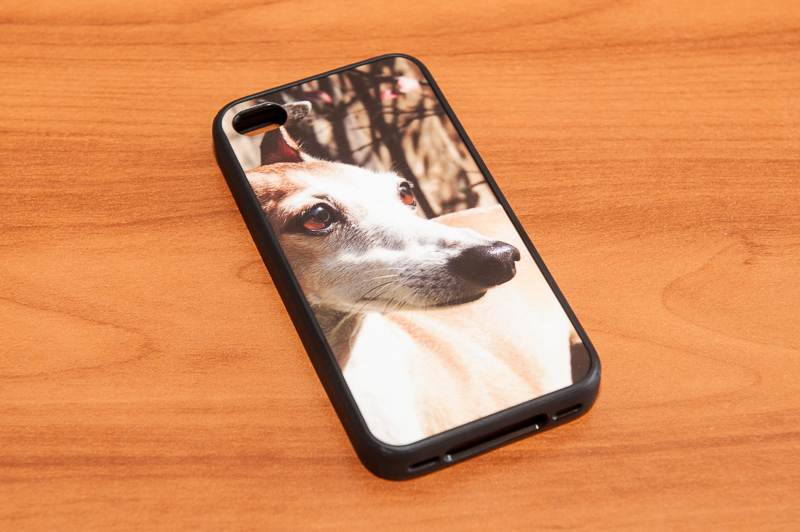
She decided on the portrait orientation, which unfortunately meant that the date stamp was included in that part of the image. Luckily enough, it was in an area that was easily edited using Photoshop. Speaking of which, I use Phototshop to prepare my images for printing, and for phone cases usually print in groups of three for economic reasons. Here’s a screen capture showing Chloe, along with two of my more popular photos, ready for printing:

Here’s what that looks like coming out of the printer (notice how the images are reversed):

Positioning sublimation blanks on paper (two ready, Chloe next in line):

Getting ready to press:

Successful sublimation:

Chloe on her insert:

Insert and case, ready to be assembled (no second chances):

Got it right!
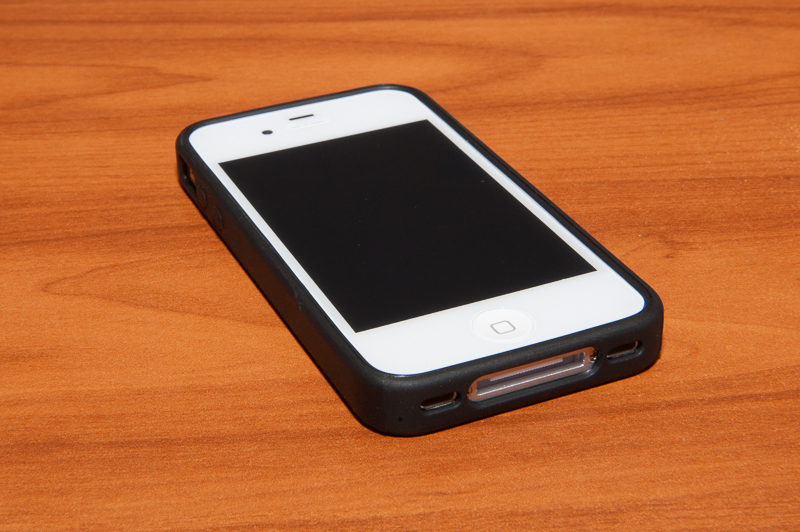
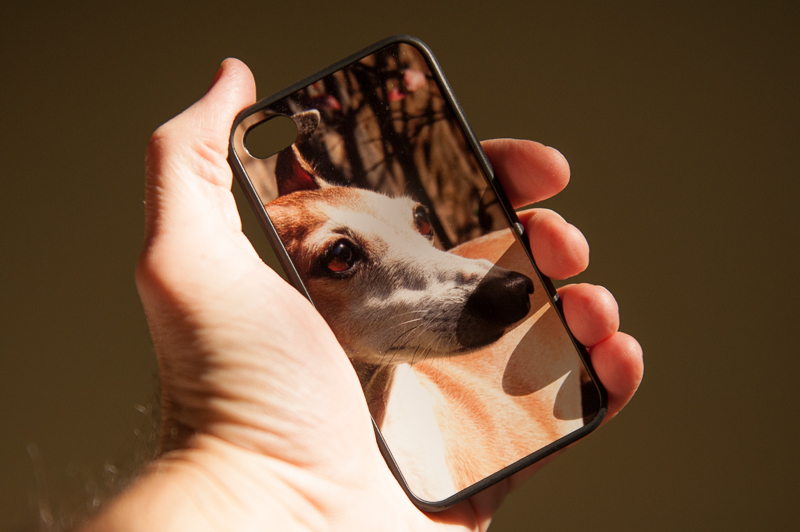
Making sure the case fits the phone:
One last inspection:
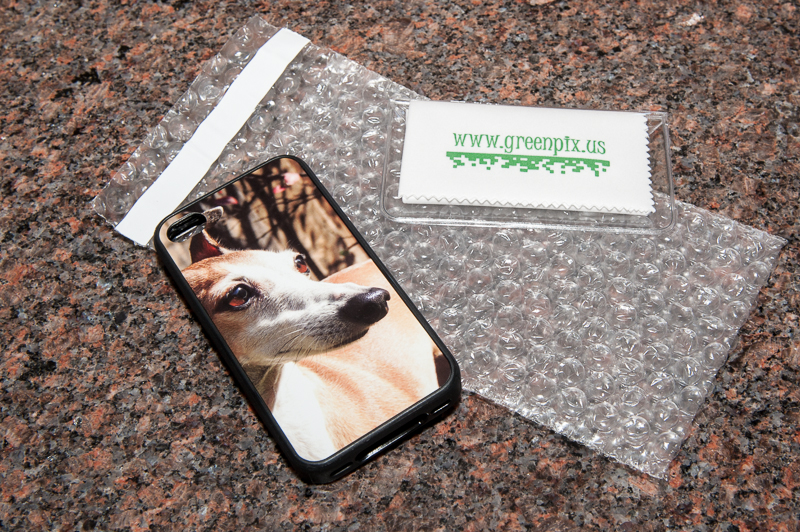
Ready for packing and shipping:
*****
That’s really all there is to it, and it sure is nice to have full control over each and every step of the process.
