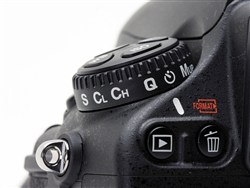
 Last week I wrote about a new series of tutorials that I will be launching in the coming months. As I wrote my first one (Image Sharpness – Part 1: Techniques to Eliminate Motion Blur) and was working on my outline for others in the series, I came to realize that there would be one common thread among all the lessons. Regardless of what I would be discussing, or what tips I would be sharing, or what techniques I would suggest you try, it always came back to the same prerequisite — you need to know how to use your camera. I don’t mean that you need to know how to turn it on and press the shutter release. I mean that you need to understand what features your camera has, what those features do, and how to adjust the settings to achieve the results that you’re after.
 Every camera has a unique set of features, and every manufacturer has their own terminology and format for their user manuals. I don’t know what cameras you all are using, and even if I did I couldn’t possibly cover the wide variety in each and every lesson. I also don’t see much point in using the first page of every tutorial telling you how important it is to understand how to use your camera. So I’m asking that you help me to help you. If I instruct you to change your ISO from AUTO to 400, or your exposure compensation from 0 to +1, you need to know how to do that. I’ll explain why you need to change it, and give you some general guidelines on how to do it, but when it comes right down to pushing the right buttons or turning the right dials, it’s all you.
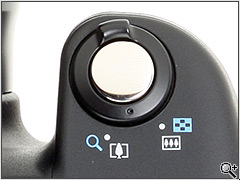 Since the manufacturers have already done their share, your homework is to spend some quality time getting familiar with your camera and user manual. Trust me, it’s time well spent, and certainly more productive than continuously re-shooting your entire inventory. So spend a cold, rainy afternoon with your favorite beverage and your camera’s user manual. Learn about the features of your camera, what settings can be adjusted, what they do, and how they affect the finished image. So much for “point and shoot,” right? Sorry, but there’s no such thing when it comes to product photography. And when it comes to learning how to use one of the most important tools in your shop, there’s no time like the present.


